
Objective
This project shows how to make three LEDs turn on and off one after the other using an Arduino Uno. It introduces simple sequencing and timing control.
Components Needed
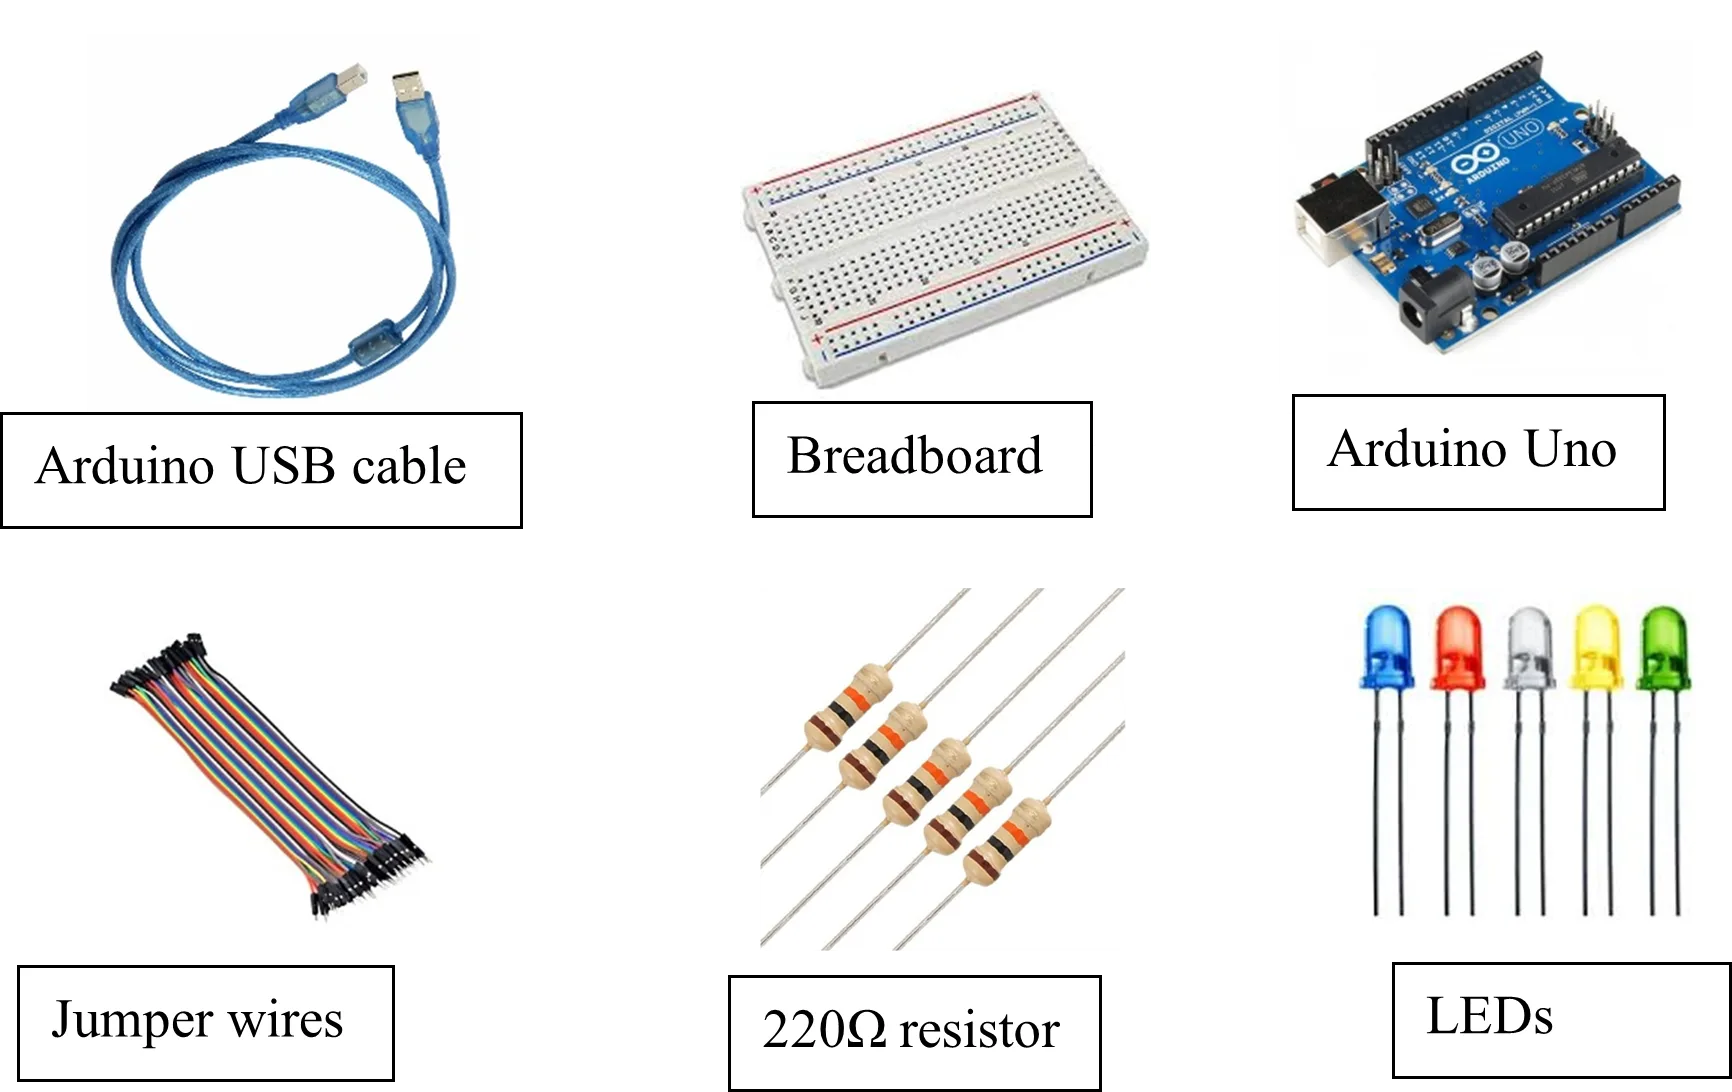
- Arduino Uno
- Arduino USB cable
- Breadboard
- 3 LEDs
- Jumper wires
- 3 resistors (220Ω each)
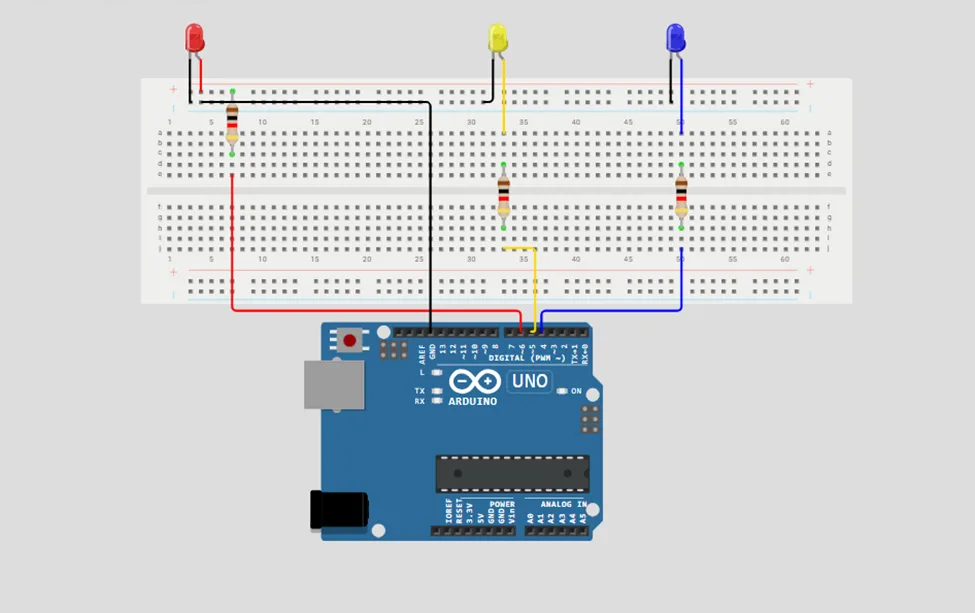
Circuit Connection
- · Place the three LEDs on the breadboard. For each LED, the longer leg is the positive pin, while the shorter leg is the negative pin.
- · Connect the positive leg of the first LED to pin 6 on the Arduino through a 220Ω resistor. Connect its negative leg to GND.
- · Connect the positive leg of the second LED to pin 5 on the Arduino through a 220Ω resistor. Connect its negative leg to GND.
- · Connect the positive leg of the third LED to pin 4 on the Arduino through a 220Ω resistor. Connect its negative leg to GND.
- · After wiring, connect the Arduino Uno to the computer using the USB cable.
Program
void setup() {
pinMode(6, OUTPUT);
pinMode(5, OUTPUT);
pinMode(4, OUTPUT);
}
void loop() {
digitalWrite(6, HIGH);
delay(1000);
digitalWrite(6, LOW);
digitalWrite(5, HIGH);
delay(1000);
digitalWrite(5, LOW);
digitalWrite(4, HIGH);
delay(1000);
digitalWrite(4, LOW);
}
Explanation
pinMode(6, OUTPUT); sets pin 6 as an output pin for the first LED.
pinMode(5, OUTPUT); sets pin 5 as an output pin for the second LED.
pinMode(4, OUTPUT); sets pin 4 as an output pin for the third LED.
digitalWrite(pin, HIGH); turns an LED on.
digitalWrite(pin, LOW); turns an LED off.
delay(1000); keeps each LED on for one second before the next LED turns on.
Uploading the Code
Open the Arduino IDE, select the correct board and port, then upload the code to the Arduino Uno.
Observation
The LEDs turn on and off one after the other. This sequence repeats continuously.
Conclusion
This project helps learners understand how to control three LEDs in a sequence using Arduino. It is a simple introduction to traffic light systems, timing, and repeated actions.